
In earlier versions of Harvester (v1.0.3 and prior), Longhorn volumes may get corrupted during the replica rebuilding process (reference: Analysis: Potential Data/Filesystem Corruption). In Harvester v1.1.0 and later versions, the Longhorn team has fixed this issue. This article covers manual steps you can take to scan the VM's filesystem and repair it if needed.
Stop The VM And Backup Volume
Before you scan the filesystem, it is recommend you back up the volume first. For an example, refer to the following steps to stop the VM and backup the volume.
- Find the target VM.

- Stop the target VM.
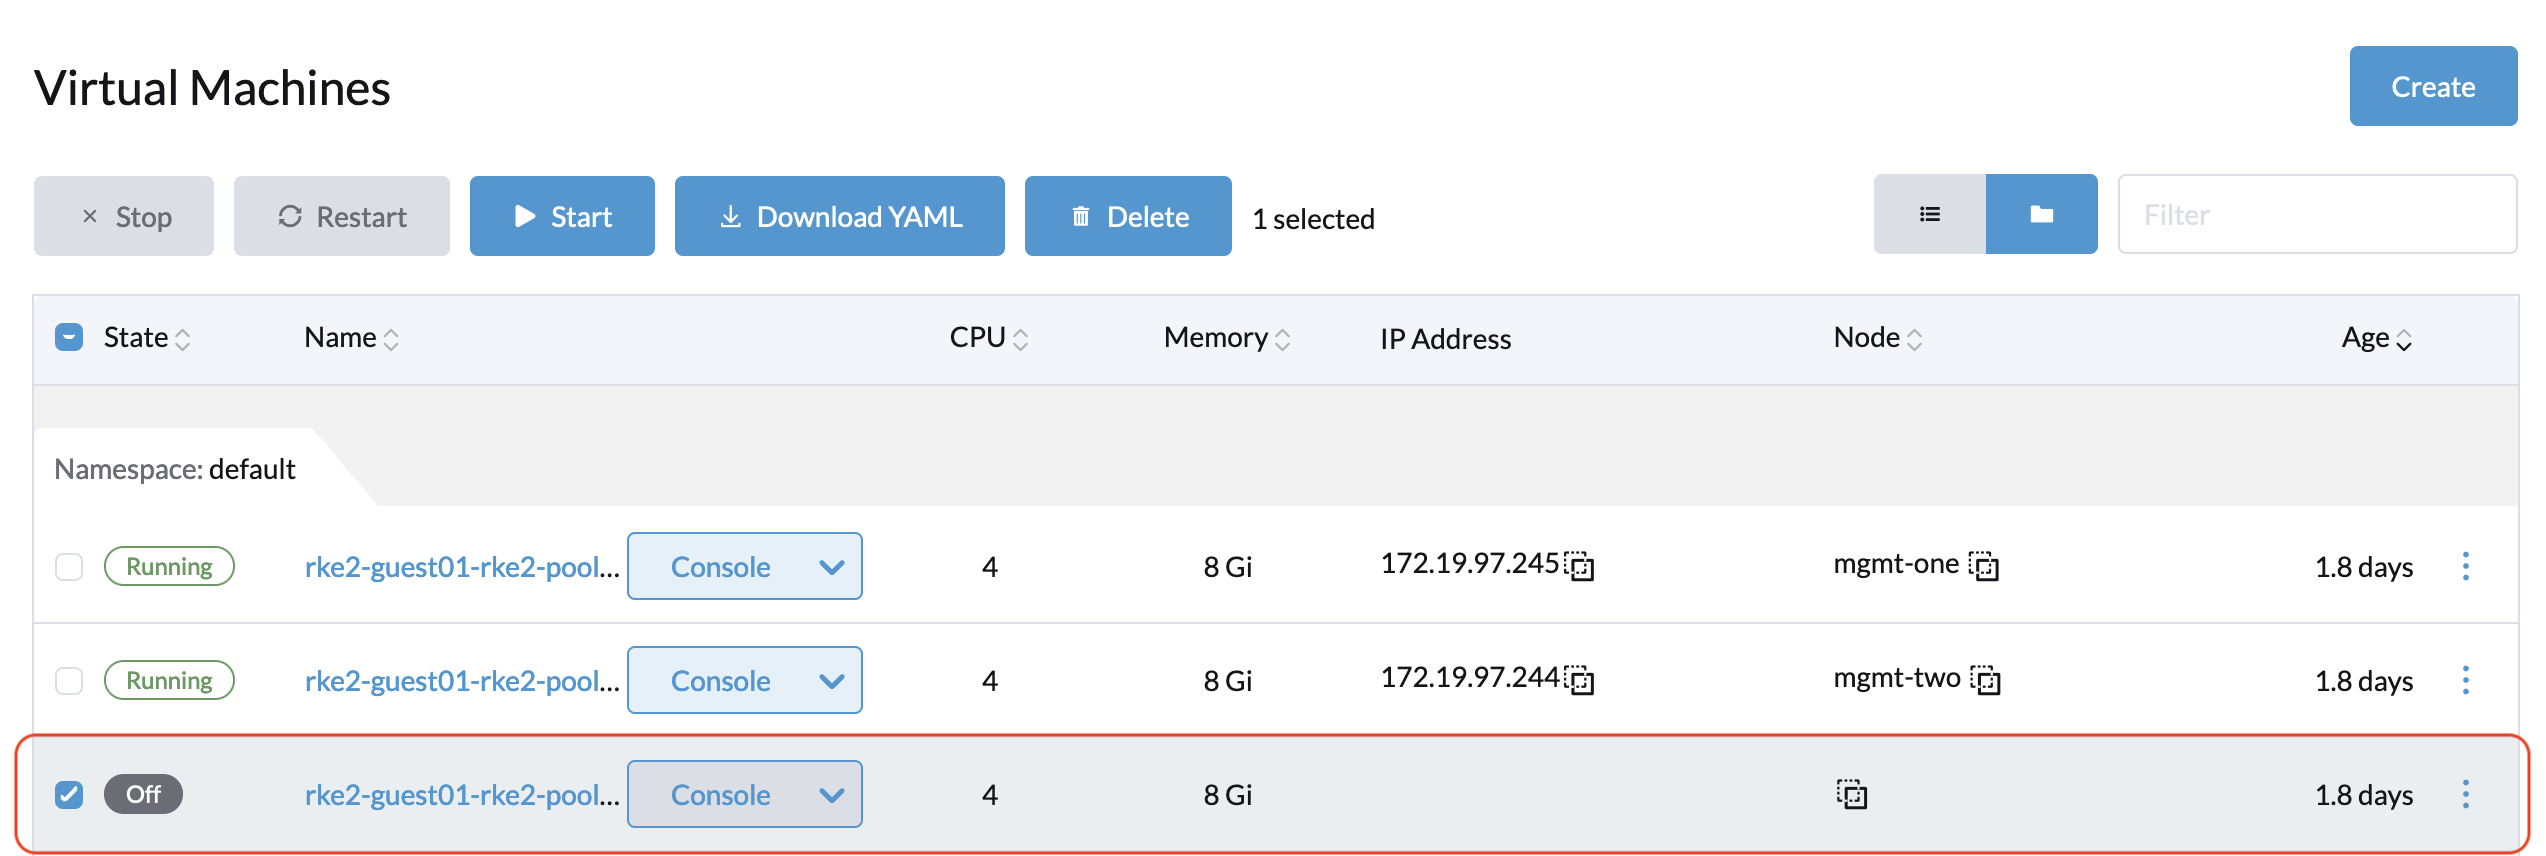
The target VM is stopped and the related volumes are detached. Now go to the Longhorn UI to backup this volume.
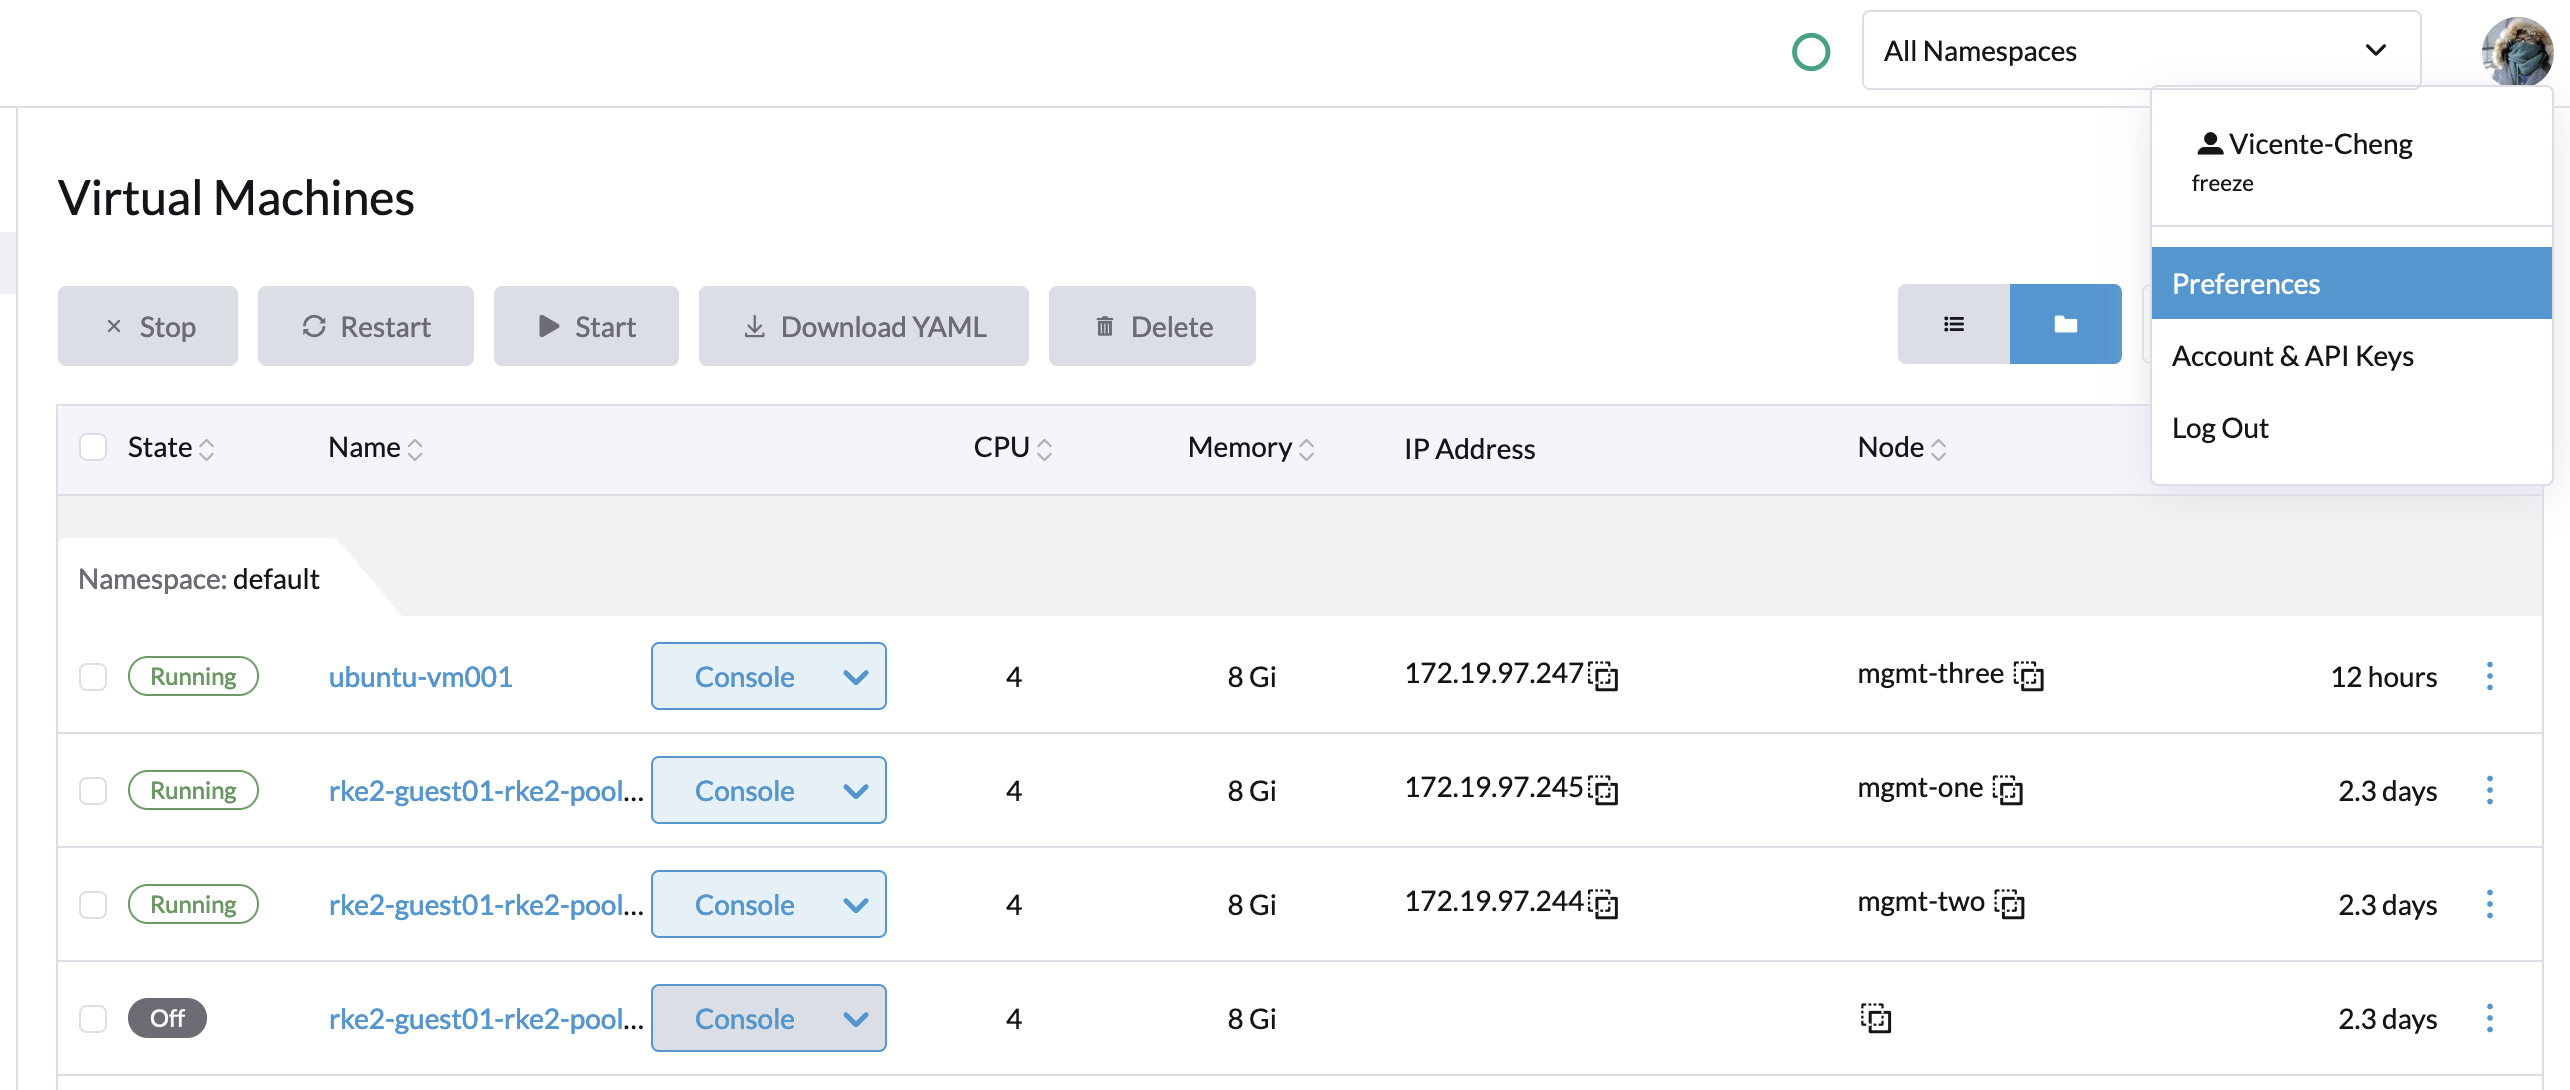
- Enable
Developer Tools & Features(Preferences -> Enable Developer Tools & Features).

- Click the
⋮button and select Edit Config to edit the config page of the VM.
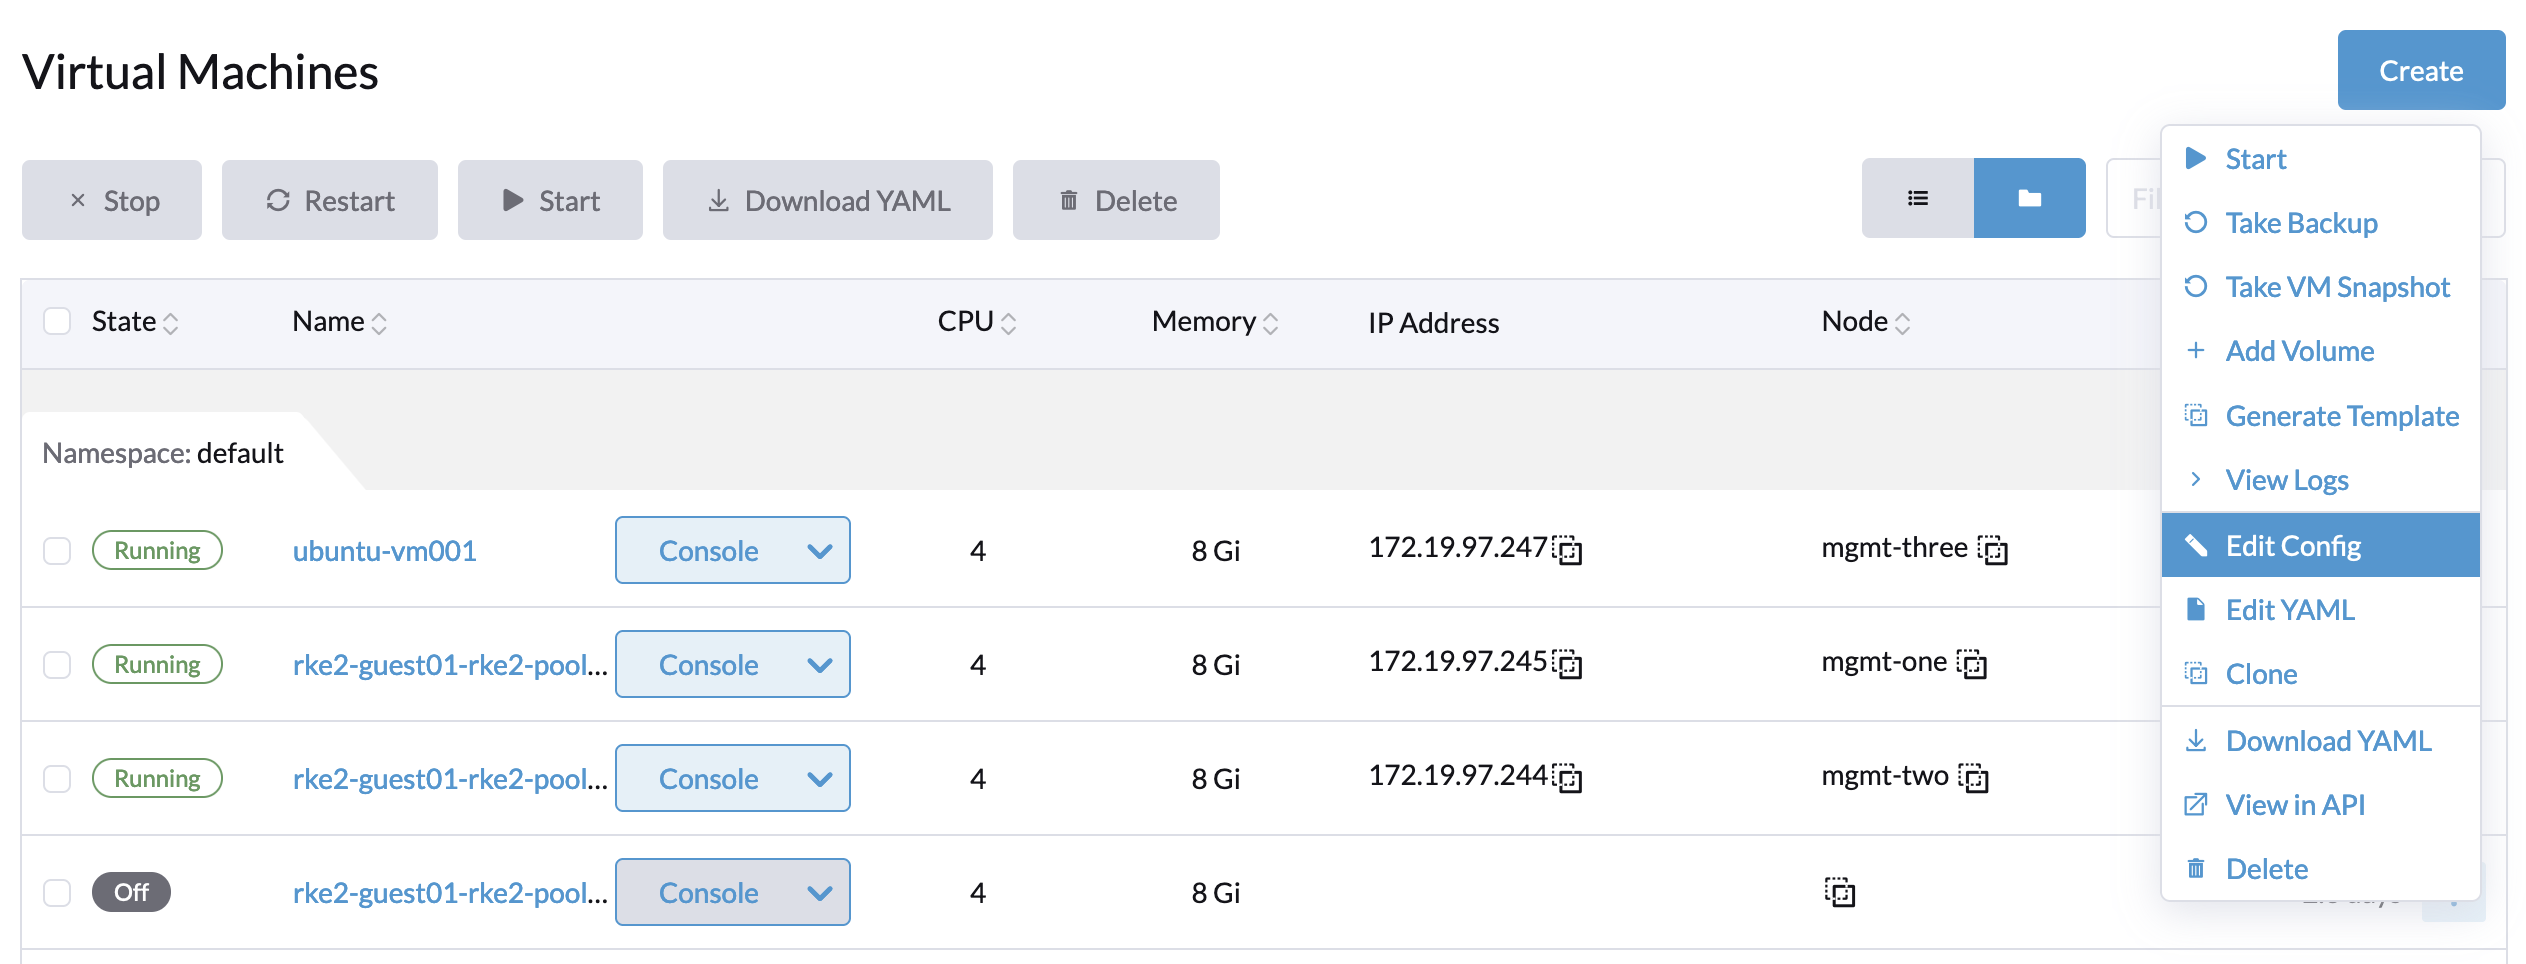
- Go to the
Volumestab and selectCheck volume details.

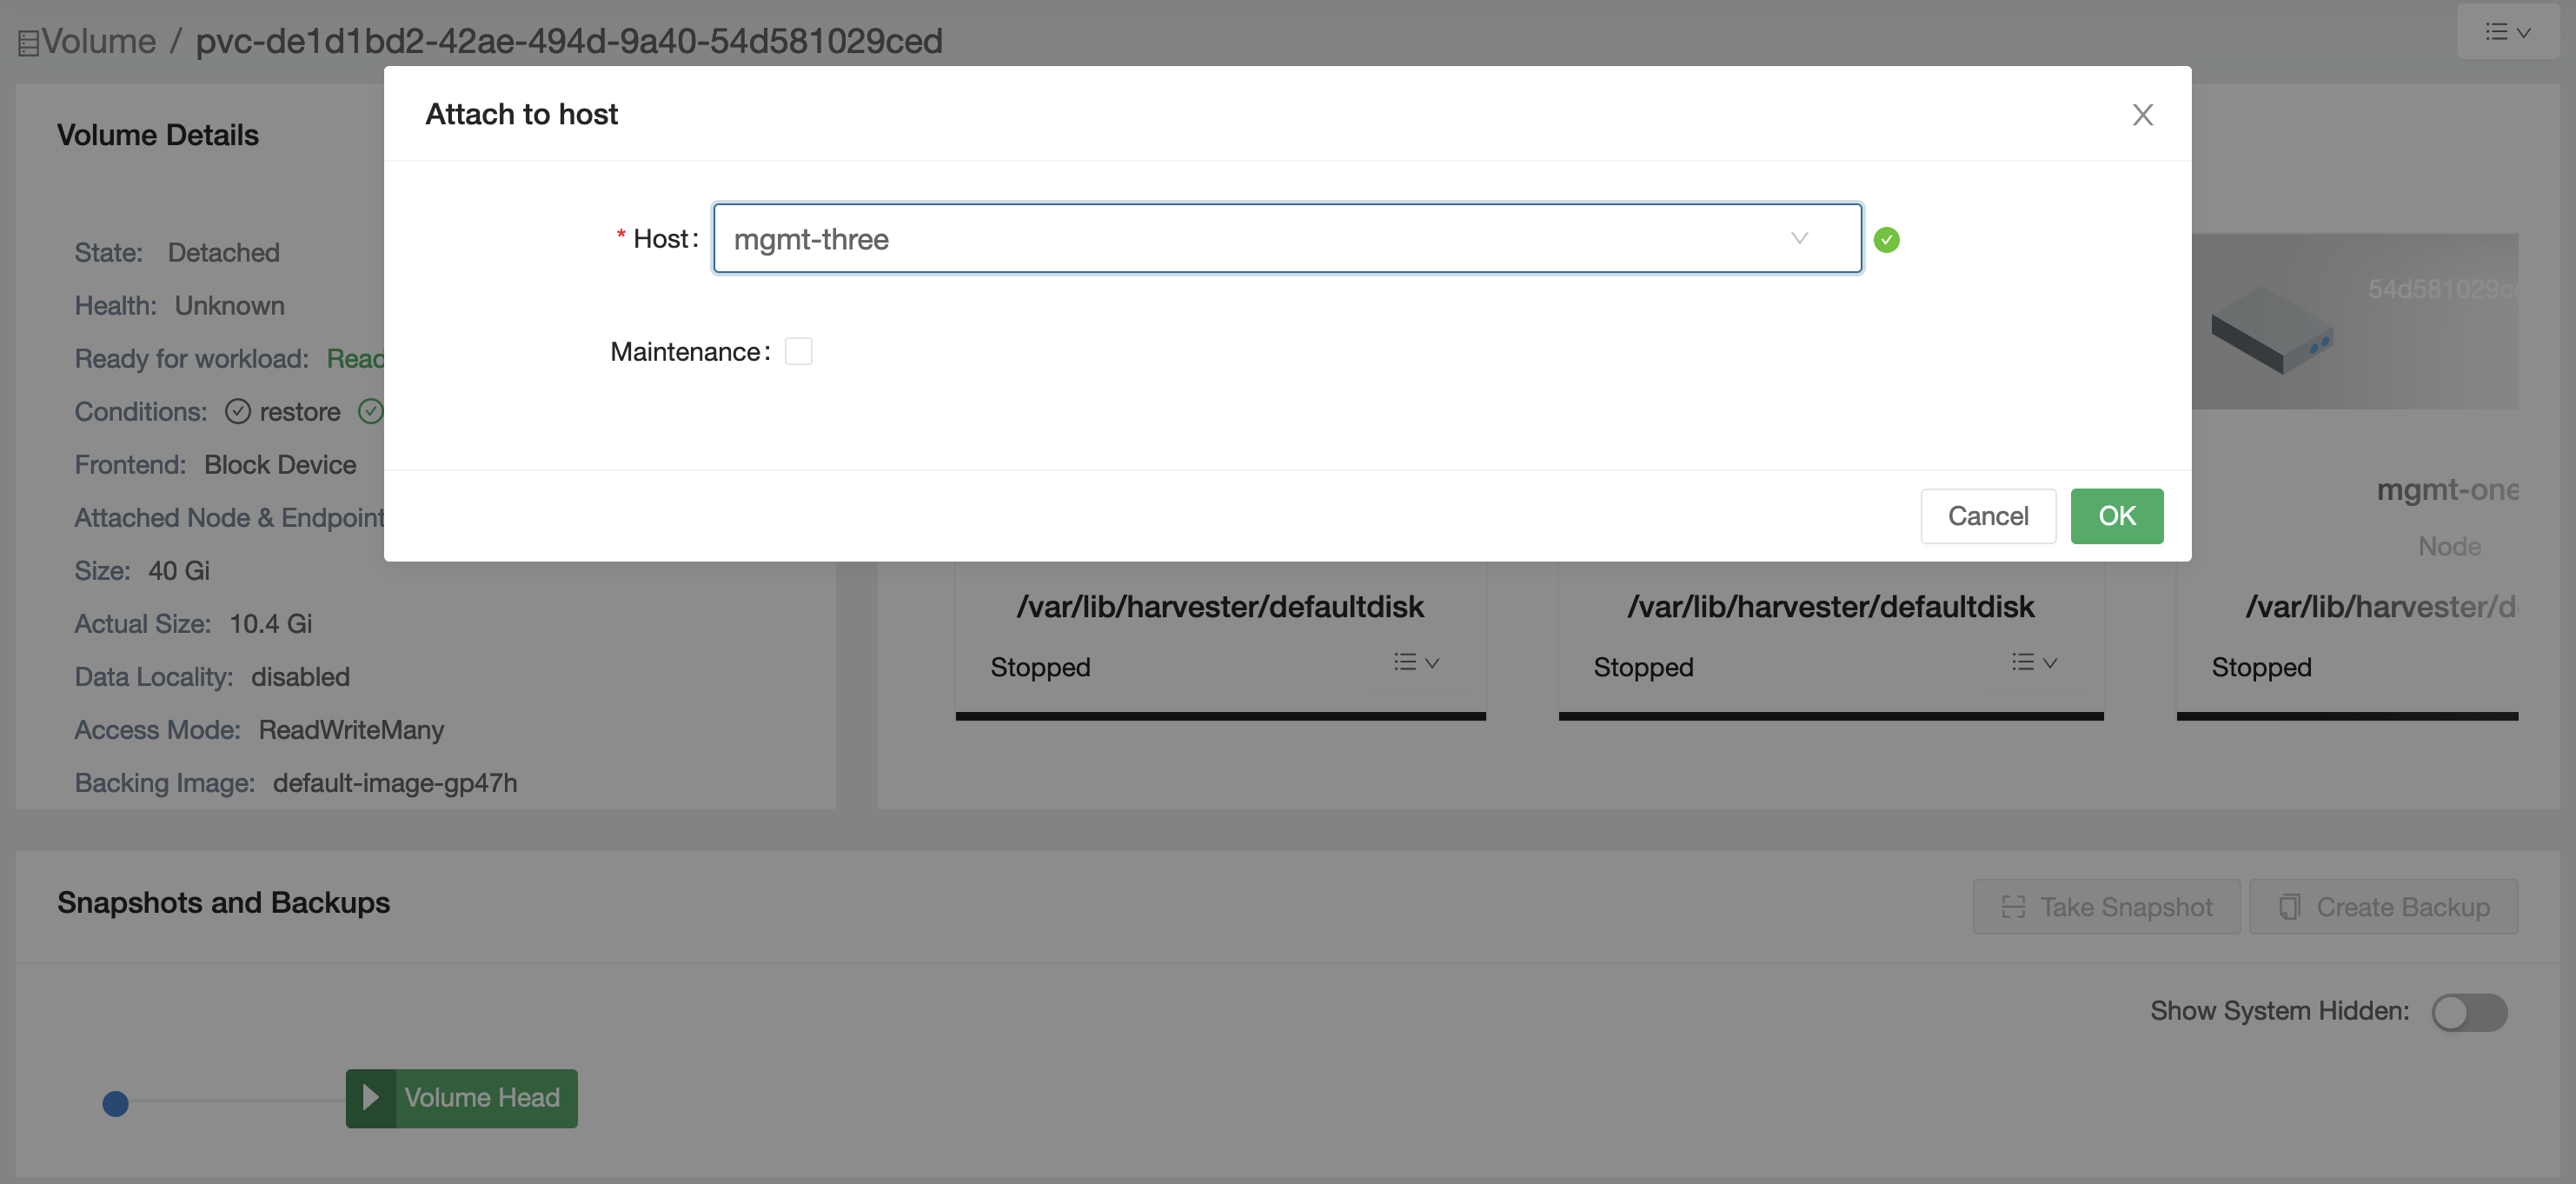
- Click the dropdown menu on the right side and select 'Attach' to attach the volume again.
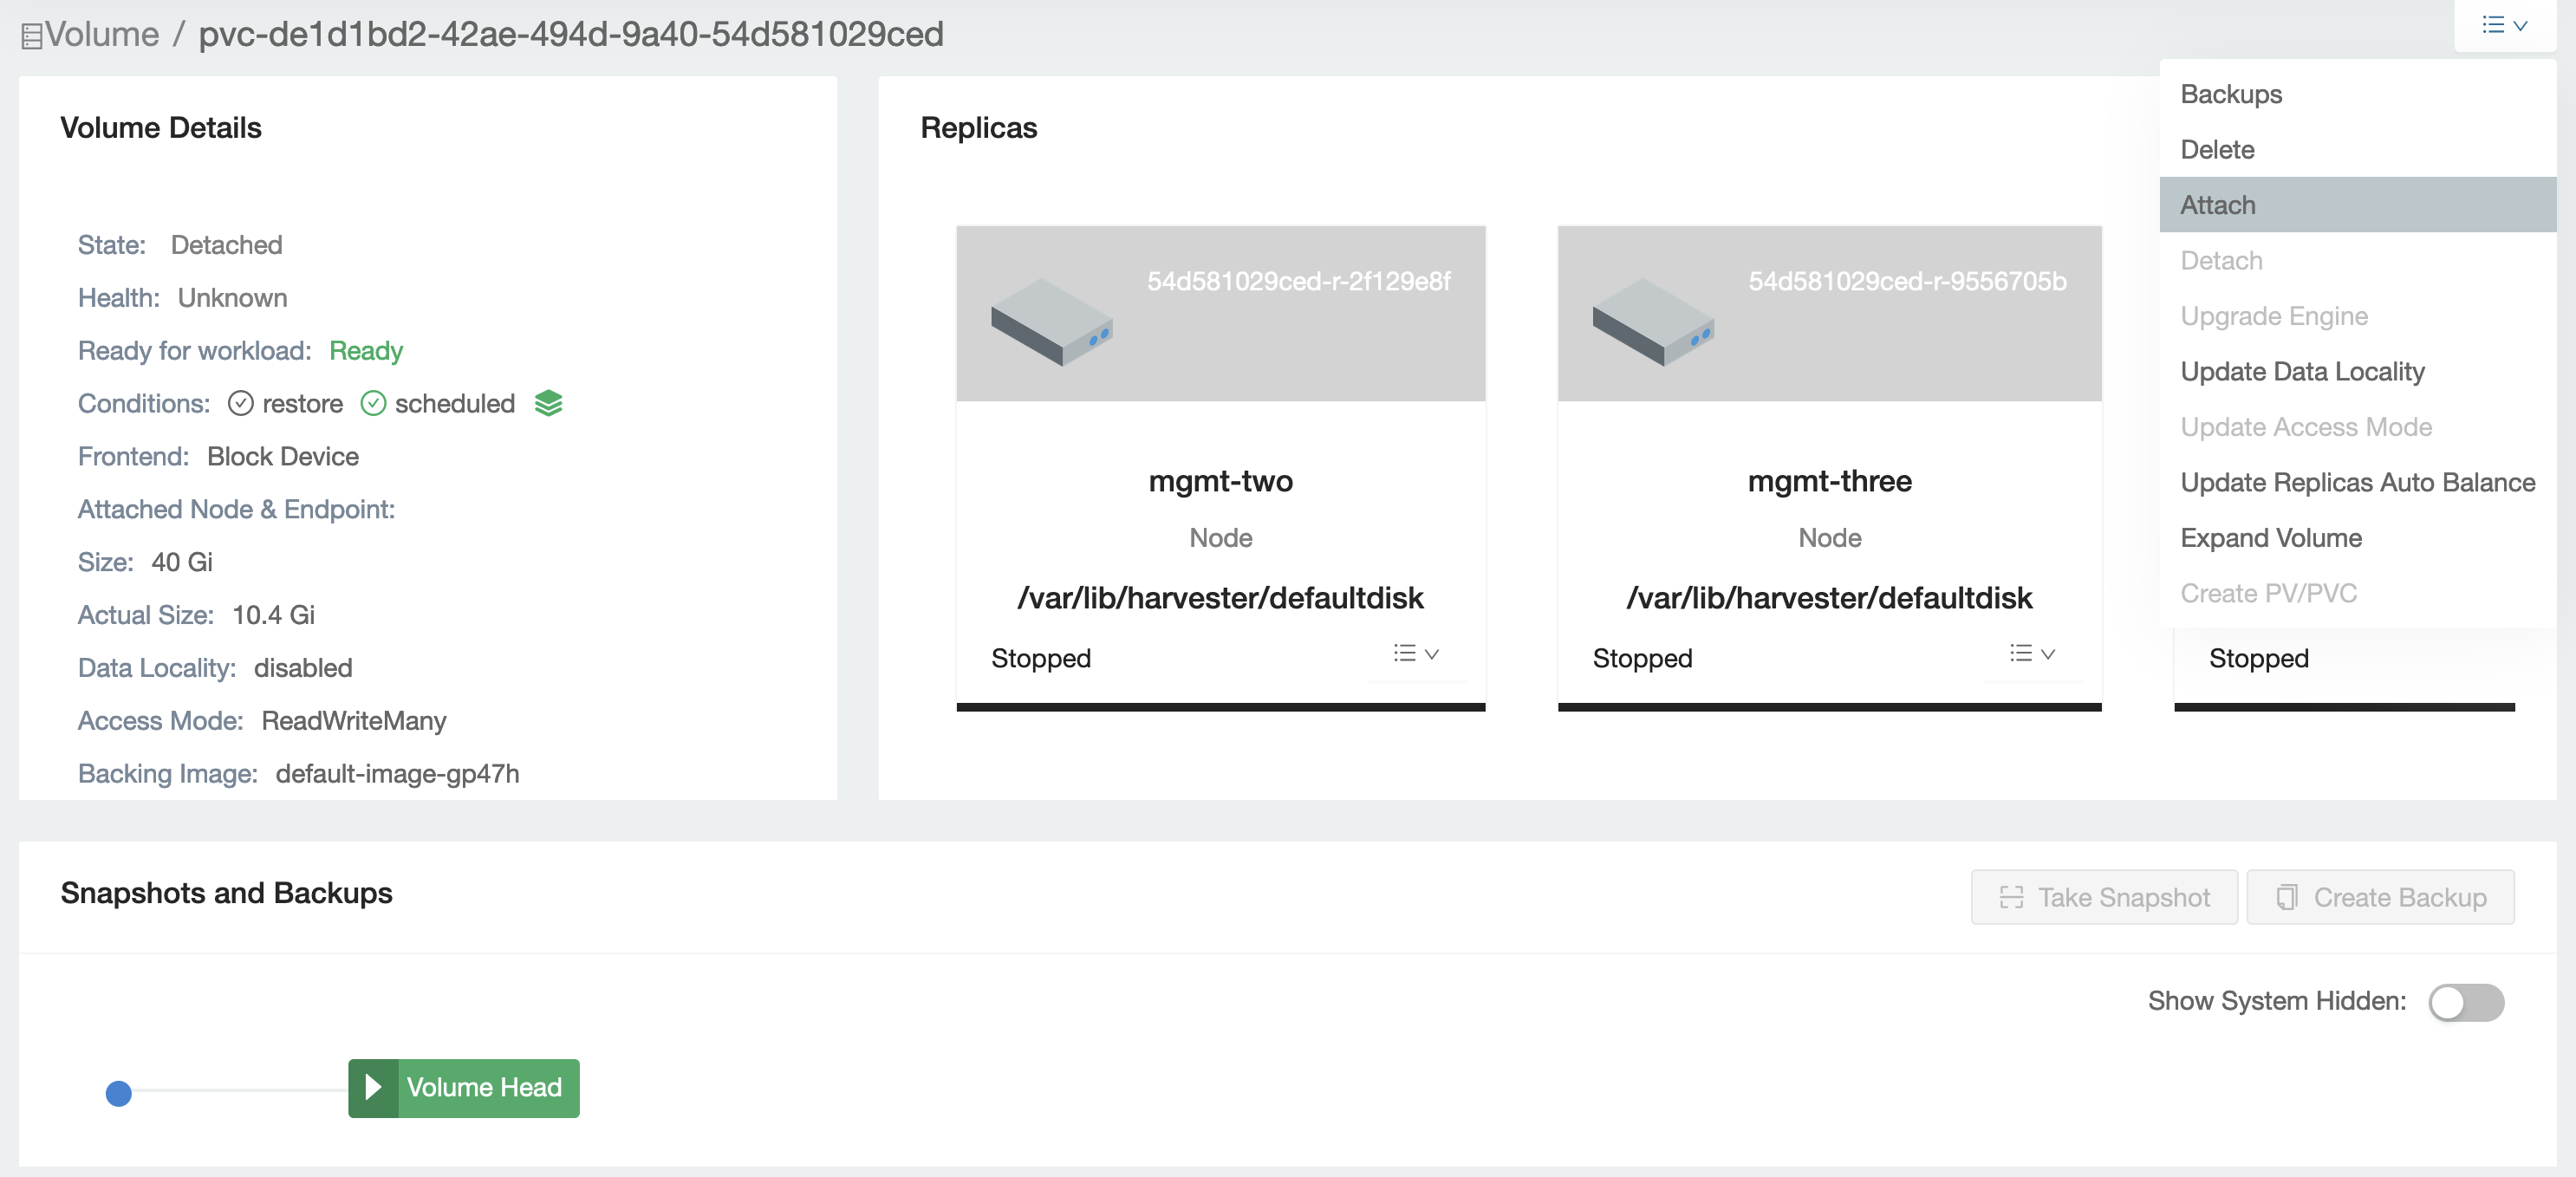
- Select the attached node.
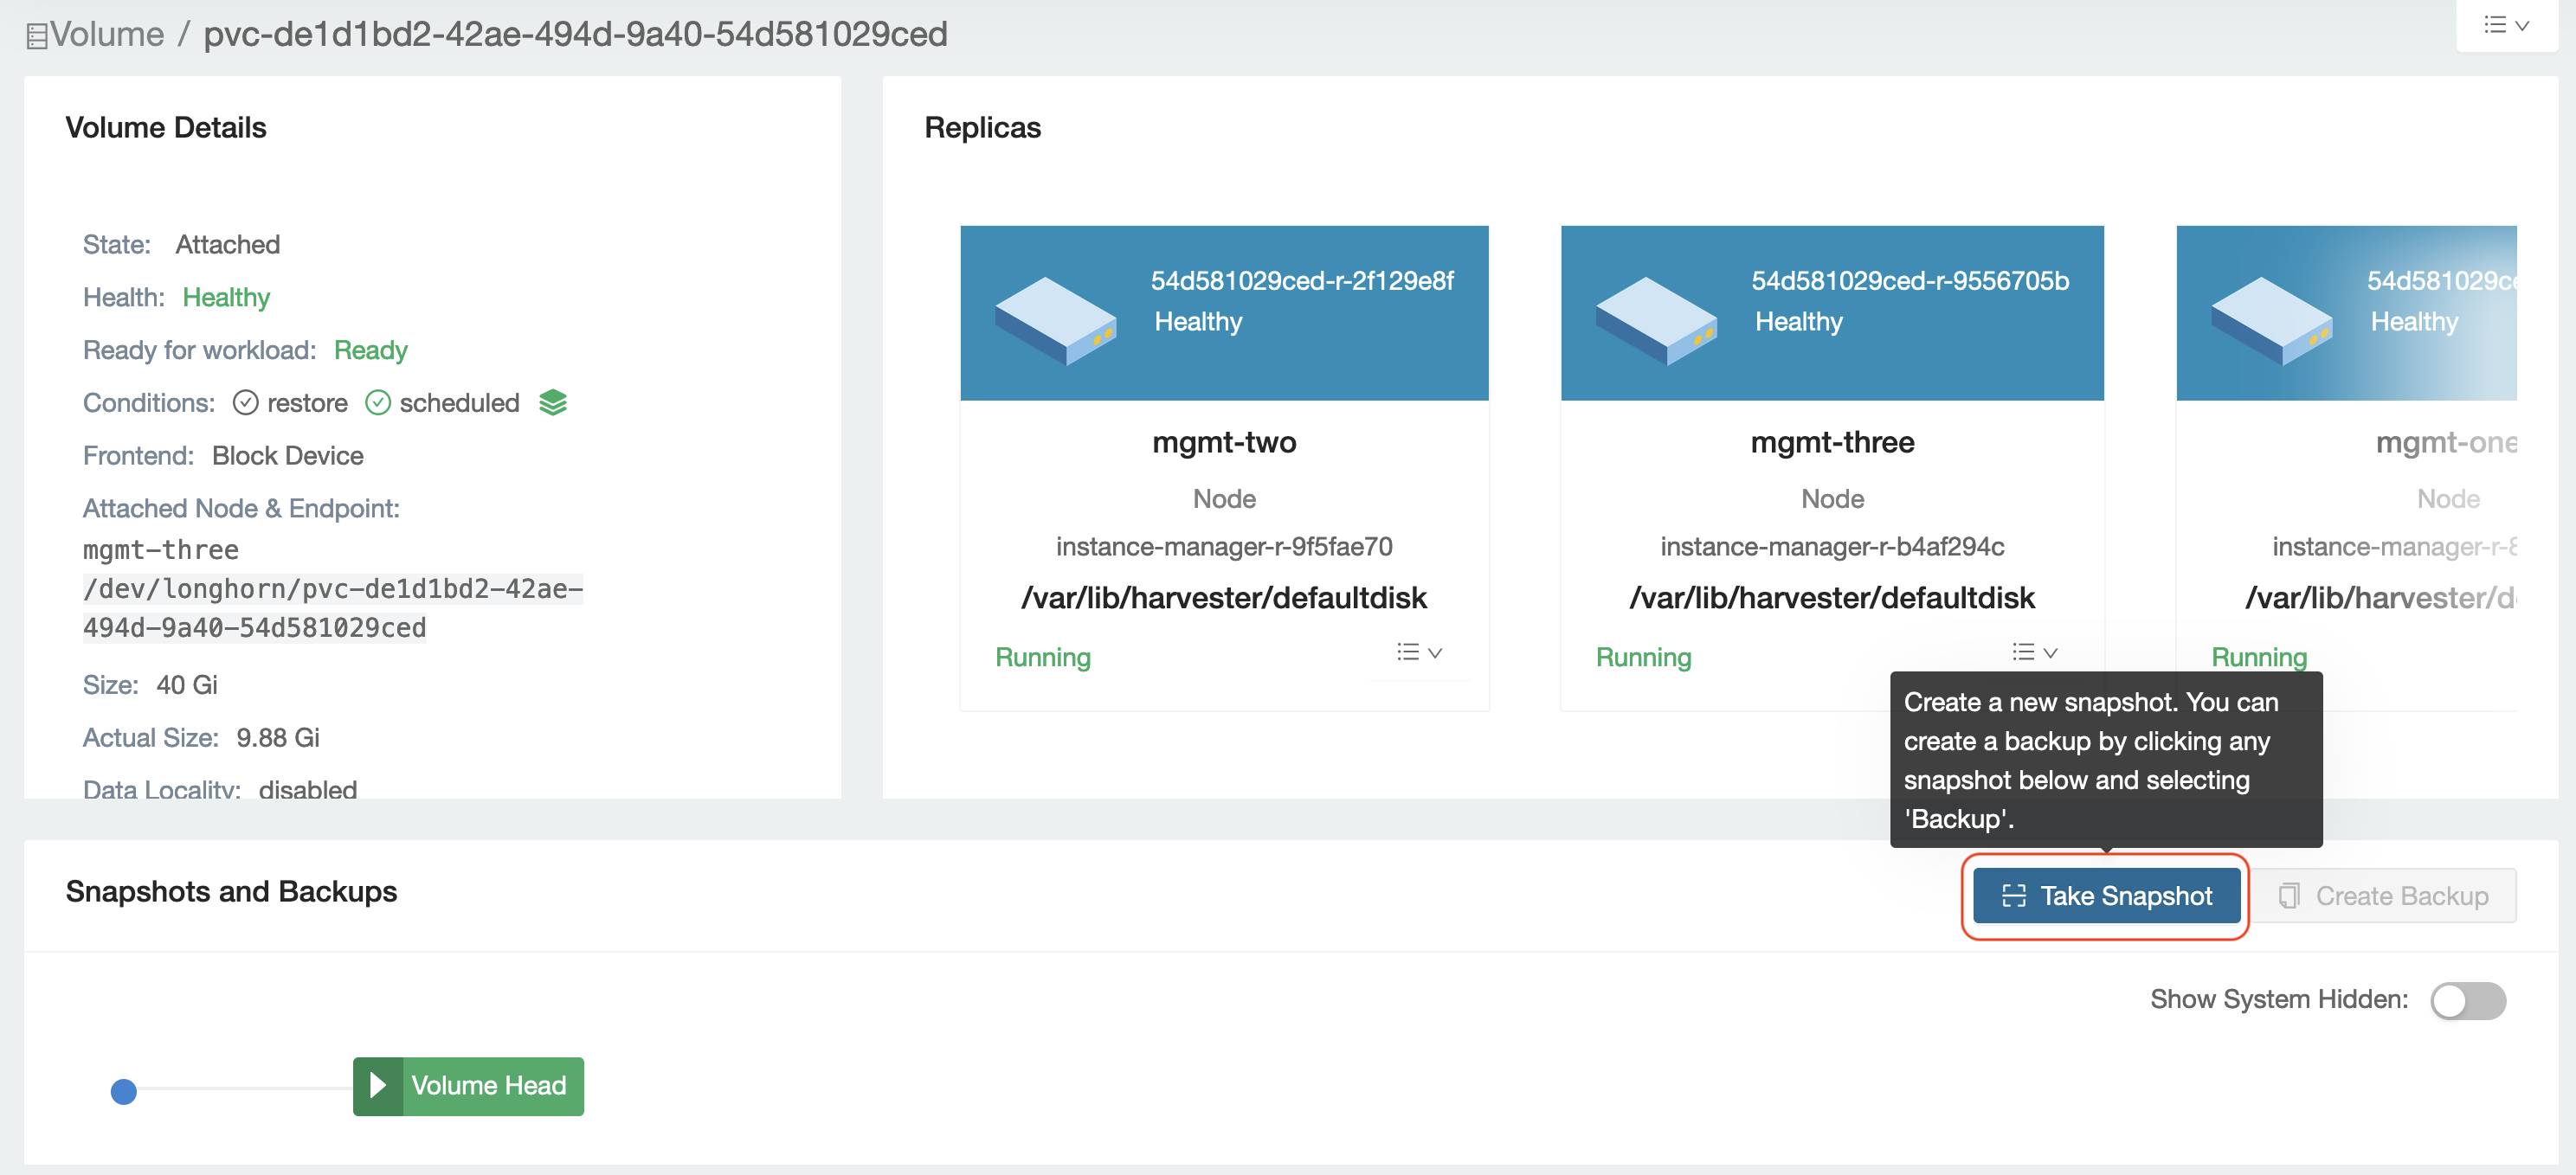
- Check the volume attached under
Volume Detailsand selectTake Snapshoton this volume page.
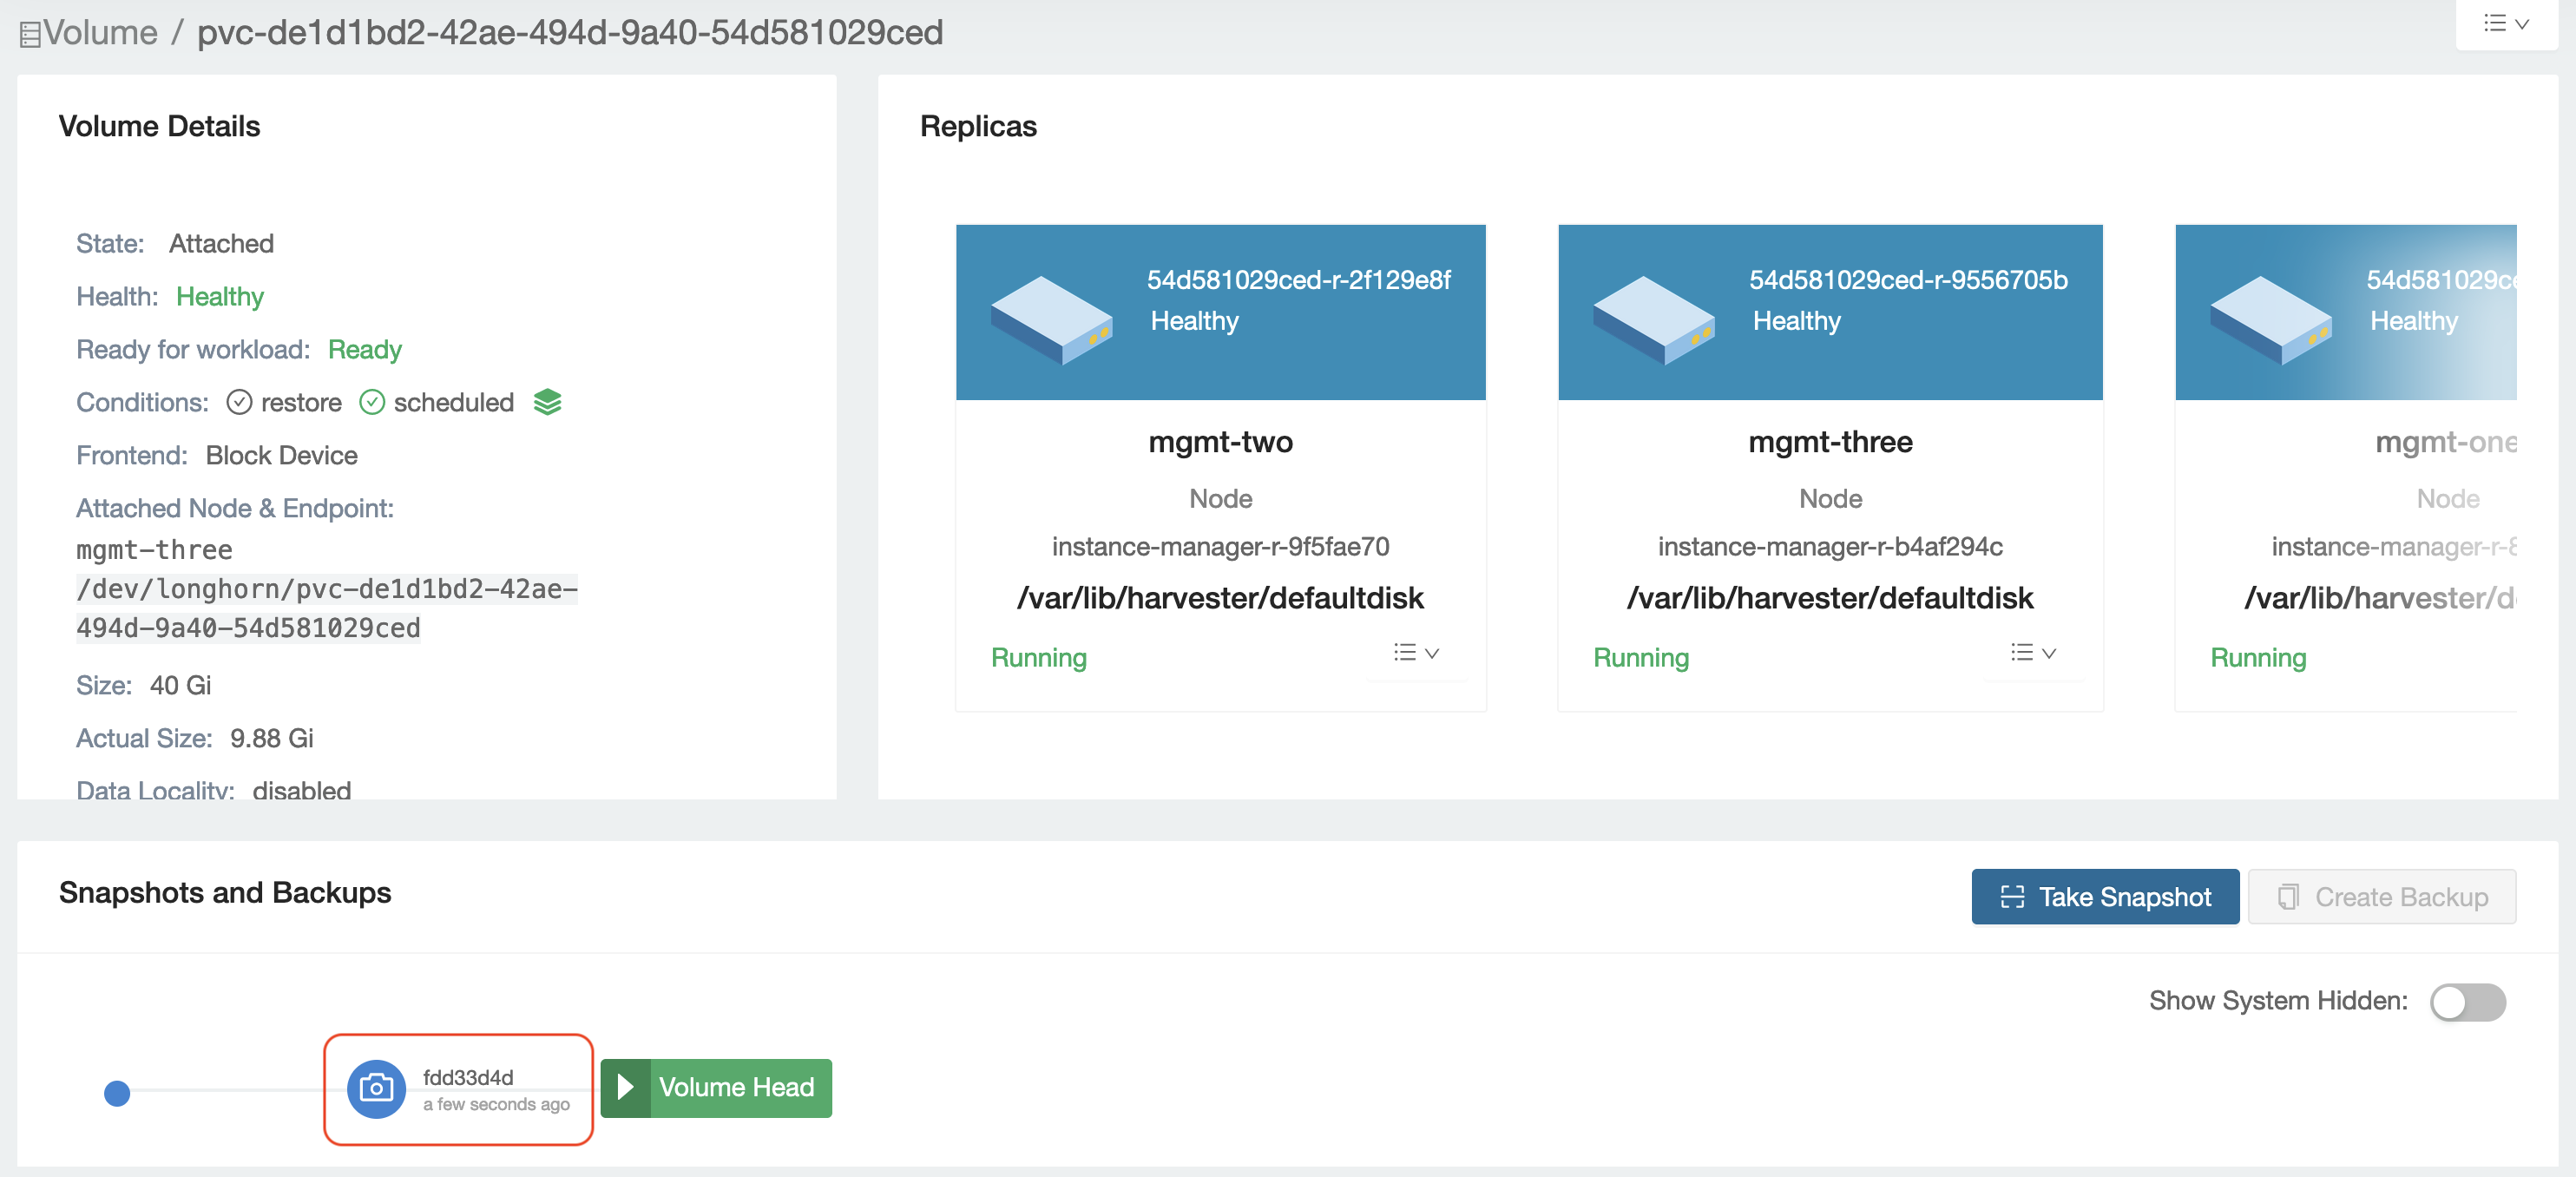
- Confirm that the snapshot is ready.
Now that you completed the volume backup, you need to scan and repair the root filesystem.
Scanning the root filesystem and repairing
This section will introduce how to scan the filesystem (e.g., XFS, EXT4) using related tools.
Before scanning, you need to know the filesystem's device/partition.
- Identify the filesystem's device by checking the major and minor numbers of that device.
Obtain the major and minor numbers from the listed volume information.
In the following example, the volume name is
pvc-ea7536c0-301f-479e-b2a2-e40ddc864b58.harvester-node-0:~ # ls /dev/longhorn/pvc-ea7536c0-301f-479e-b2a2-e40ddc864b58 -al
brw-rw---- 1 root root 8, 0 Oct 23 14:43 /dev/longhorn/pvc-ea7536c0-301f-479e-b2a2-e40ddc864b58The output indicates that the major and minor numbers are
8:0.Obtain the device name from the output of the
lsblkcommand.harvester-node-0:~ # lsblk
NAME MAJ:MIN RM SIZE RO TYPE MOUNTPOINTS
loop0 7:0 0 3G 1 loop /
sda 8:0 0 40G 0 disk
├─sda1 8:1 0 2M 0 part
├─sda2 8:2 0 20M 0 part
└─sda3 8:3 0 40G 0 partThe output indicates that
8:0are the major and minor numbers of the device namedsda. Therefore,/dev/sdais related to the volume namedpvc-ea7536c0-301f-479e-b2a2-e40ddc864b58.
- You should now know the filesystem's partition. In the example below, sda3 is the filesystem's partition.
- Use the Filesystem toolbox image to scan and repair.
# docker run -it --rm --privileged registry.opensuse.org/isv/rancher/harvester/toolbox/main/fs-toolbox:latest -- bash
Then we try to scan with this target device.
XFS
When scanning an XFS filesystem, use the xfs_repair command and specify the problematic partition of the device.
In the following example, /dev/sda3 is the problematic partition.
# xfs_repair -n /dev/sda3
To repair the corrupted partition, run the following command.
# xfs_repair /dev/sda3
EXT4
When scanning a EXT4 filesystem, use the e2fsck command as follows, where the /dev/sde1 is the problematic partition of the device.
# e2fsck -f /dev/sde1
To repair the corrupted partition, run the following command.
# e2fsck -fp /dev/sde1
After using the 'e2fsck' command, you should also see logs related to scanning and repairing the partition. Scanning and repairing the corrupted partition is successful if there are no errors in these logs.
Detach and Start VM again.
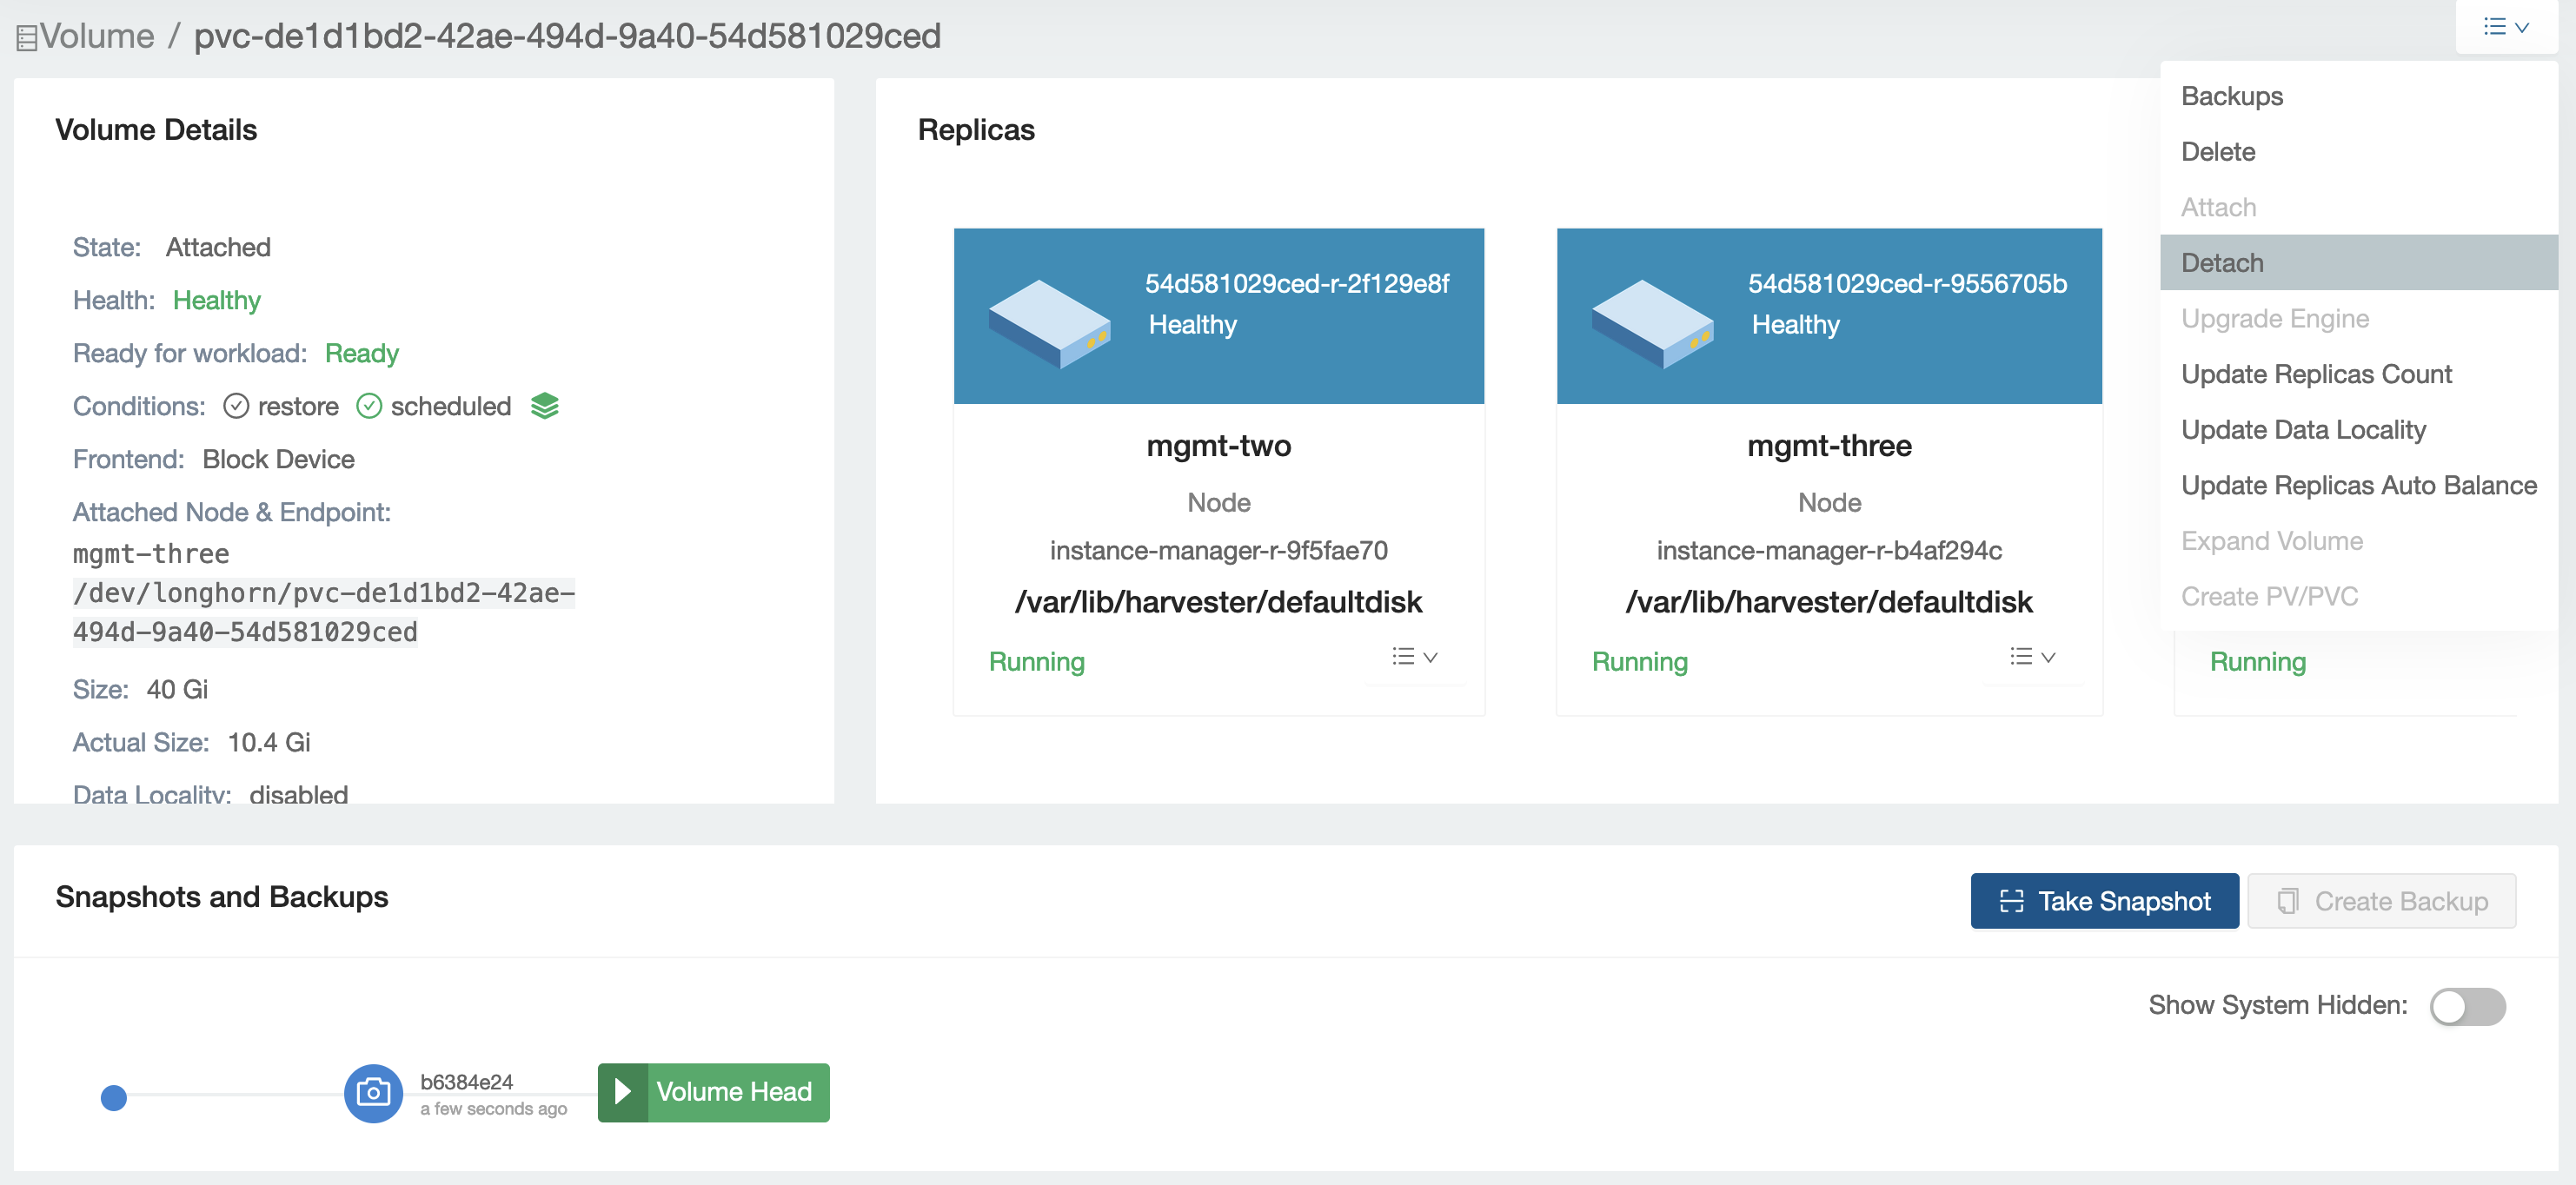
After the corrupted partition is scanned and repaired, detach the volume and try to start the related VM again.
- Detach the volume from the Longhorn UI.
- Start the related VM again from the Harvester UI.

Your VM should now work normally.