Upgrading Harvester
Available as of v0.2.0
Harvester provides two ways to upgrade.
note
- Upgrading from v0.1.0 is not supported.
- Upgrading from/to any RC releases is not supported.
- Due to pending OS changes in the roadmap, the upgradability to the GA release cannot be guaranteed at this moment.
- Zero downtime upgrade is supported when the Harvester cluster includes 3 or more nodes. If the cluster has less than 3 nodes, you can still perform upgrades but there'll be downtime during the upgrade.
- Upgrade nodes one by one. :::
Upgrade using the ISO image
To get the Harvester ISO of a newer version, download it from the Github releases.
- Go to the Hosts page in Harvester UI.
- Find the node you are about to upgrade. Click on the action dropdown. Click on the
Enable Maintenance Modeaction. - Wait until all the VMs on the node are migrated to other nodes and the node is in
Maintenance Modestatus. - Shut down the server, and boot the server from the ISO disk of the newer Harvester version.
- Select the
Harvester Installerin the grub menu. - Select
Upgrade Harvesterand confirm in the prompt.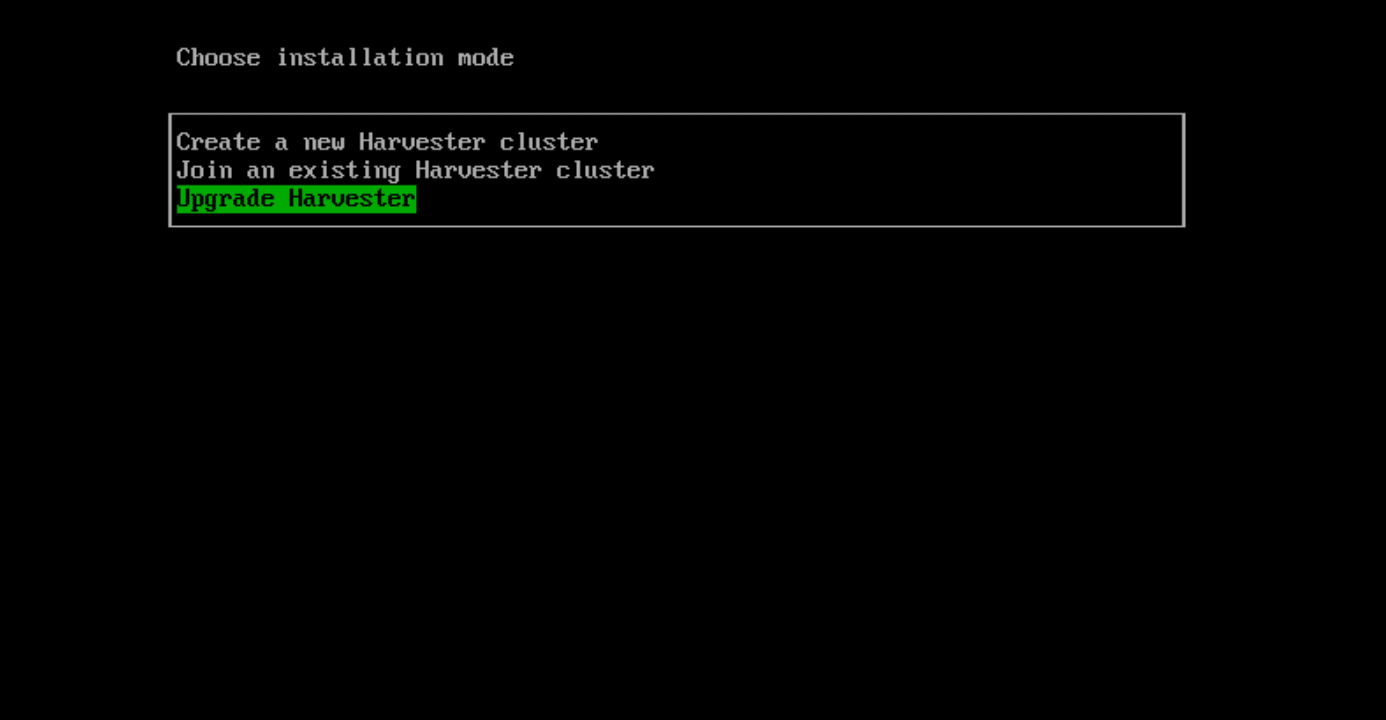
- Wait until the upgrade completes. The node will be rebooted and show
Readyagain in the terminal console. - Go to the Hosts page in Harvester UI.
- Find the node that just completed the upgrade. Click on the action dropdown. Click on the
Disable Maintenance Modeaction. - For the rest nodes of the cluster, repeat steps 2 to 9 to upgrade them one by one.
Upgrade in the UI
Prerequisites: Internet access is required to perform a live upgrade in the UI.
- Go to the Dashboard page in Harvester UI.
- When newer versions are available, an upgrade button will be shown in the top-right corner. Click upgrade.
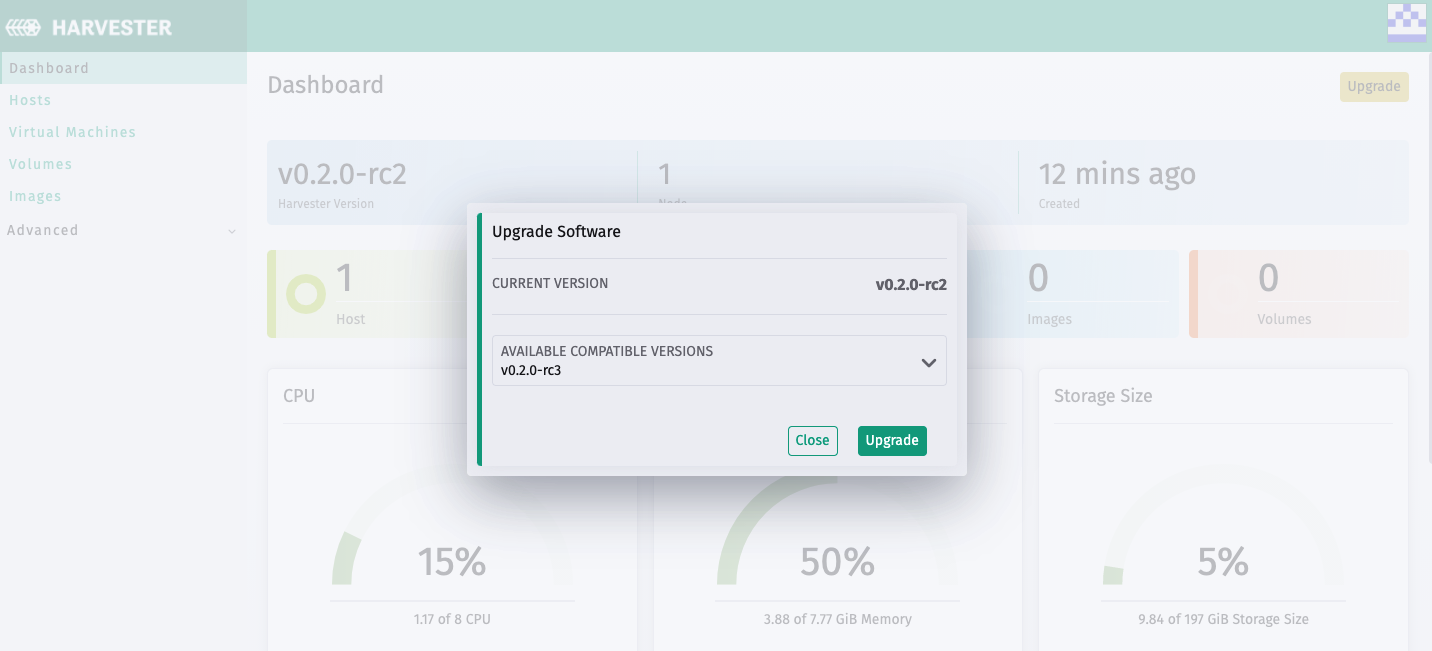
- Select a version to upgrade. Click upgrade.
- Wait until the upgrade to complete. You can view the upgrade progress by clicking the circle icon in the top navigation bar.